
Shortening Your Mini Blind Wands
When we first started renovating the Toaster I was set on replacing all the window blind wands with something a bit more tasteful than the clear cheap plastic that our original blinds came with. But as the list of things that needed to be fixed on the RV got longer, the blind wands lost priority and fell off my list. Since they were going to stay where they were, I was curious how they would handle all the driving: would they fall off, would they eventually break from swinging back and forth, and most importantly – would it hit the wall and tear up the paint?

What the original length window blind wands looked like.
After the first couple of months being on the road, the blind wands didn’t cause any problems. Every once in a blue moon one would bounce out of its holder and we’d have to search for it after we were parked. But other than, they stayed in place and didn’t tear up the walls. So I pretty much forgot about them, until a few days ago.
One day after parking the Toaster and coming inside to set everything up for boondocking, I noticed that one of the side windows in the slide had a faint half circular mark on the edge of the window and the wall. It was to the left of the blind wand, right where the wand hangs. It turns out that after a year of bouncing around while we drove, they finally started to make a mark on the wall. But it was only the two side windows in the slide that had markings.
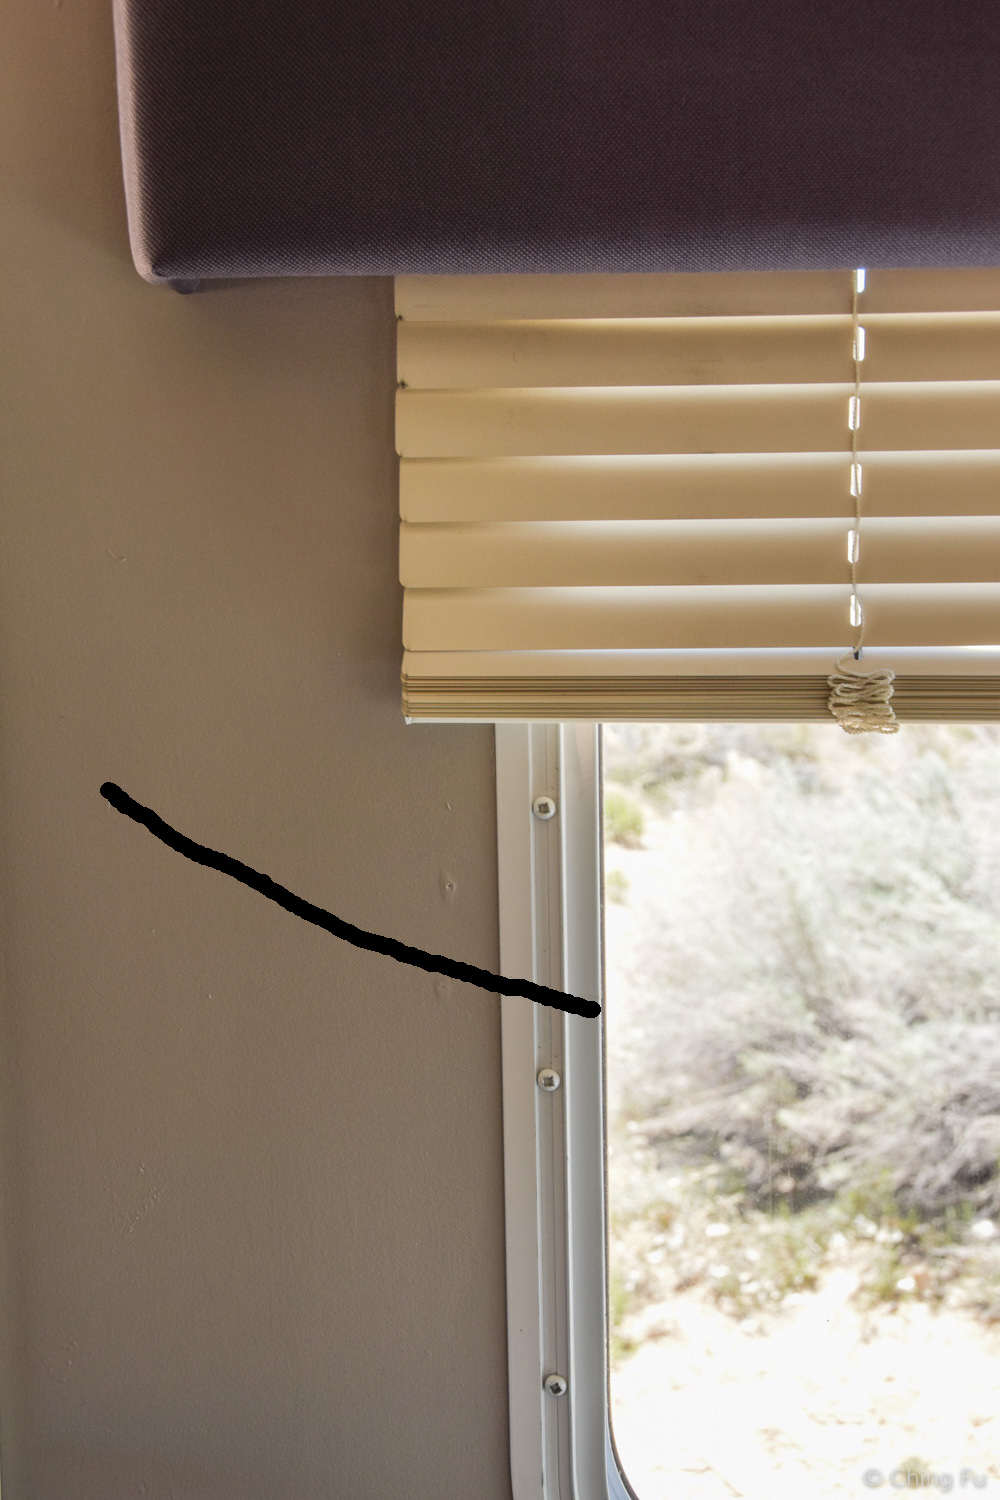
The marking is so faint I have to draw it out for you to see what I'm talking about.
Since we actually do use the blind wands, we couldn’t just remove all of them and call it good. But solving the problem turned out not to be so hard: we would just cut them shorter. I initially wanted to cut them so short that they would be hidden behind the valances. But Jerud didn’t want to deal with the hassles of turning the wands while hitting his knuckles against the inside of the valance. So we compromised and decided to have it hang a few inches below the valances. This way they would be easy enough to grab and open/close the blinds while still being short enough that when they swung, they wouldn’t hit the wall.

Left, the amount of wand we cut off and right, the new wand length.
Here’s a quick DIY on how to cut blind wands shorter.
TOOLS:
Marker
Measuring tape (optional)
Hacksaw or Dremel tool with cutoff wheel
Sand paper (220 grit)

STEPS:
1. Measure or use the blinds as reference for the length you want the new blind wands to be.
2. Mark the wand where you want to cut it off.

3. Remove the wand from the blinds.
4. Mark on the wand which window it’s for (in case they are different lengths).

5. Using the hacksaw or Dremel, cut on the line you drew. (Use a slow speed on the Dremel to avoid melting the plastic wands.)

6. Sand the freshly cut wands. First, sand the cut end so that it’s smooth and flat. Then sand the cut edge of the stick so it’s not sharp. To sand the wand, put the sand paper on a flat surface and rub the wand across it, rather than trying to hold the wand and move the sandpaper. Rotate the stick in a circular motion while moving it up and down on the sand paper.

7. Clean off the sanded edge using a little bit of water.
8. Reinstall the wands on the window blinds.
9. Repeat until all are complete.
Now our walls are once again safe!

New wand length.

