The Toaster Is 100% Propane Free
Disclosure: This post contains affiliate links. Please read our disclaimer.
BIG NEWS! The Toaster is 100% propane free! How? By taking out our last propane appliance – the RV stove/oven.
The RV stove/oven that used to be in the Toaster.
We’ve wanted to remove our RV stove/oven since after the first month we were on the road. It was during that month we realized that our solar panels were actually generating enough energy and we had enough batteries to allow us to cook electrically in addition to powering everything else in the RV off the solar panels.
The reason we didn’t get rid of the stove/oven like we did with all the other RV appliances was that we didn’t have a lot of experience living in the Toaster before we actually moved into it. We had only taken the RV on three trips. It was only on the last trip that we even had solar panels. Everything we read said cooking uses a lot of electricity, more than we thought our system was capable of generating.
Once we realized we were able to, we bought a portable two-burner electric stovetop to cook all of our meals.
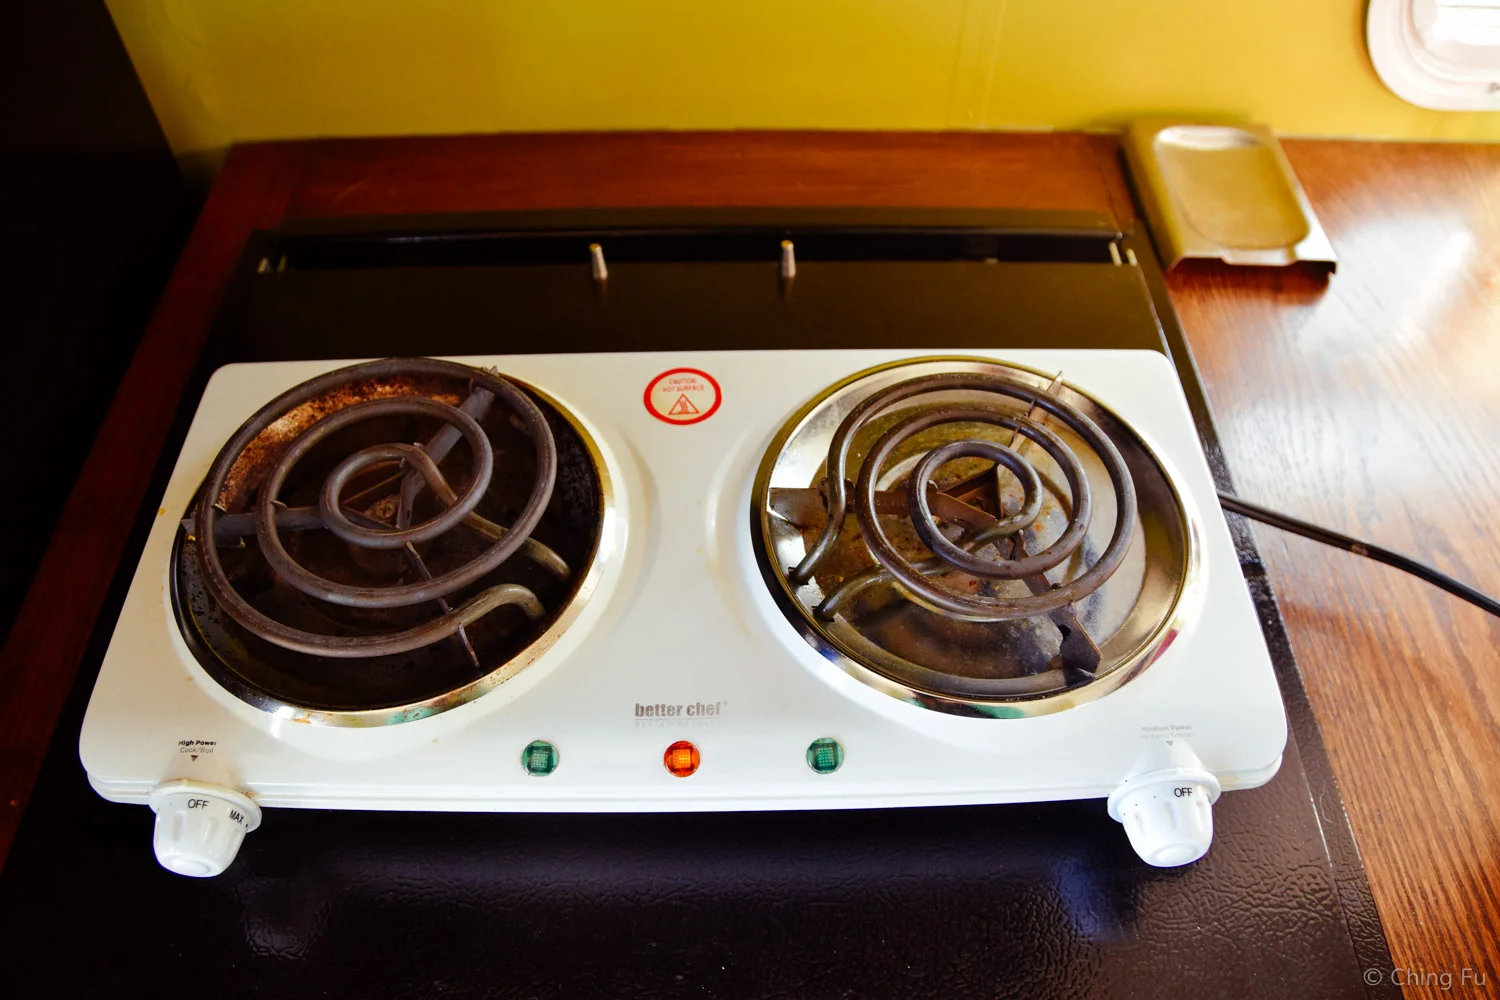
Our two burner electric cooktop.
But we still needed to use the RV oven if we wanted to bake or reheat leftovers. So the only propane item left in the entire RV was the stove/oven. While it was something we used very infrequently (we’ve used <7 lbs of propane during the 14 months we lived in the Toaster), it was still something we had and used so we couldn’t honestly say we were 100% propane and fossil fuel free. Which sucked because our goal was to make the Toaster truly powered 100% by solar panels.

We used to store the electric cooktop along with cookie sheets in the oven.
Removing the RV stove/oven wasn’t something we were keen on doing while living on the road. It wasn’t as simple as just removing and replacing it with electrical appliances. There would be a large gap where the stove/oven was, meaning we had to build a cabinet and countertop to fill the hole. Sure we could have done the work while boondocking or staying at an RV park, but we didn’t want to deal with the hassles of that. That’s why when we were asked to house/donkey sit in Montana, we knew it was the perfect opportunity to say goodbye to our stove/oven.

The big hole is what's left after the RV stove/oven was removed.
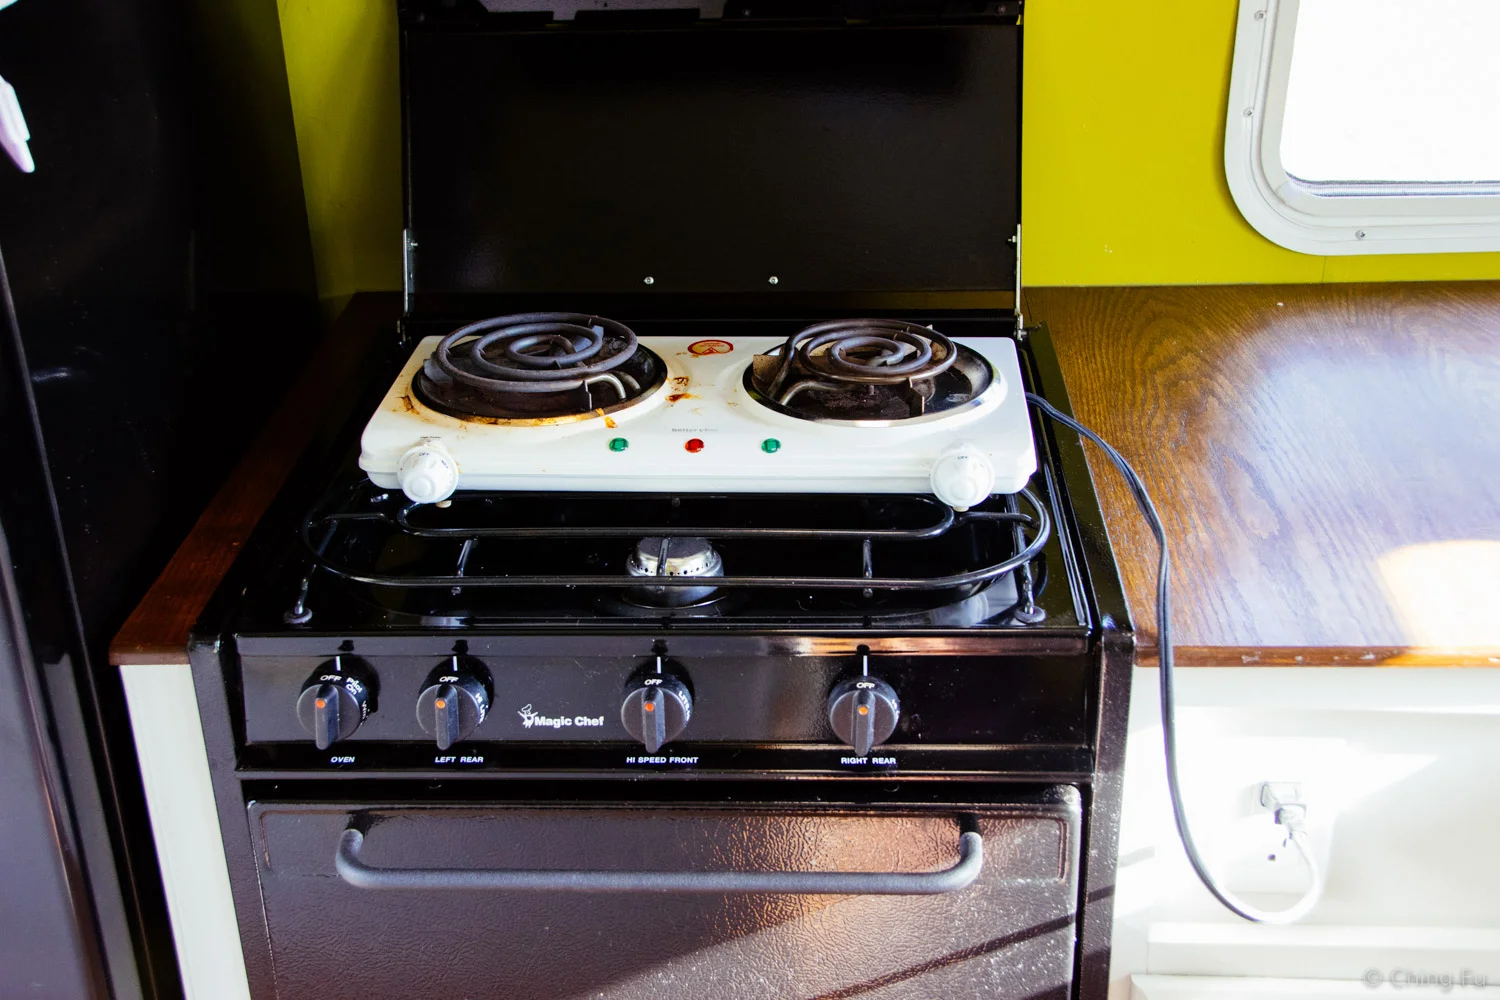
Another reason why we had put off removing the stove/oven was we weren’t sure what we would replace it with. Our cheap two burner electrical stove was a piece of crap, so it wasn’t a long-term solution. It wouldn’t get hot enough to properly stir-fry and it couldn’t evenly cook pancakes. Pots and pans sat really unevenly and unsteady on the coil, making it too easy to tip while cooking. Due to limited countertop space and the desire to keep the wall behind the stove oil-free, we sat the electric stove on top of the RV stove (with the lid open acting like a backsplash). That was also unsteady because it sat on top of the stove rails. So we really, really wanted something else to cook on.
Now picture a pot or pan on top of the electric cooktop - it's like playing Jenga while cooking.
We were totally sold after we got to try out an induction cooktop. The cooktop was able to get to high heat, cook evenly, and use less power than the electric-coil stovetop we had. Induction cooktops also let you set the exact temperature you want to cook with. We ended up getting the NuWave Precision induction cooktop. The Amazon description doesn’t say that includes a 9” frying pan (no lid), but ours came with one.
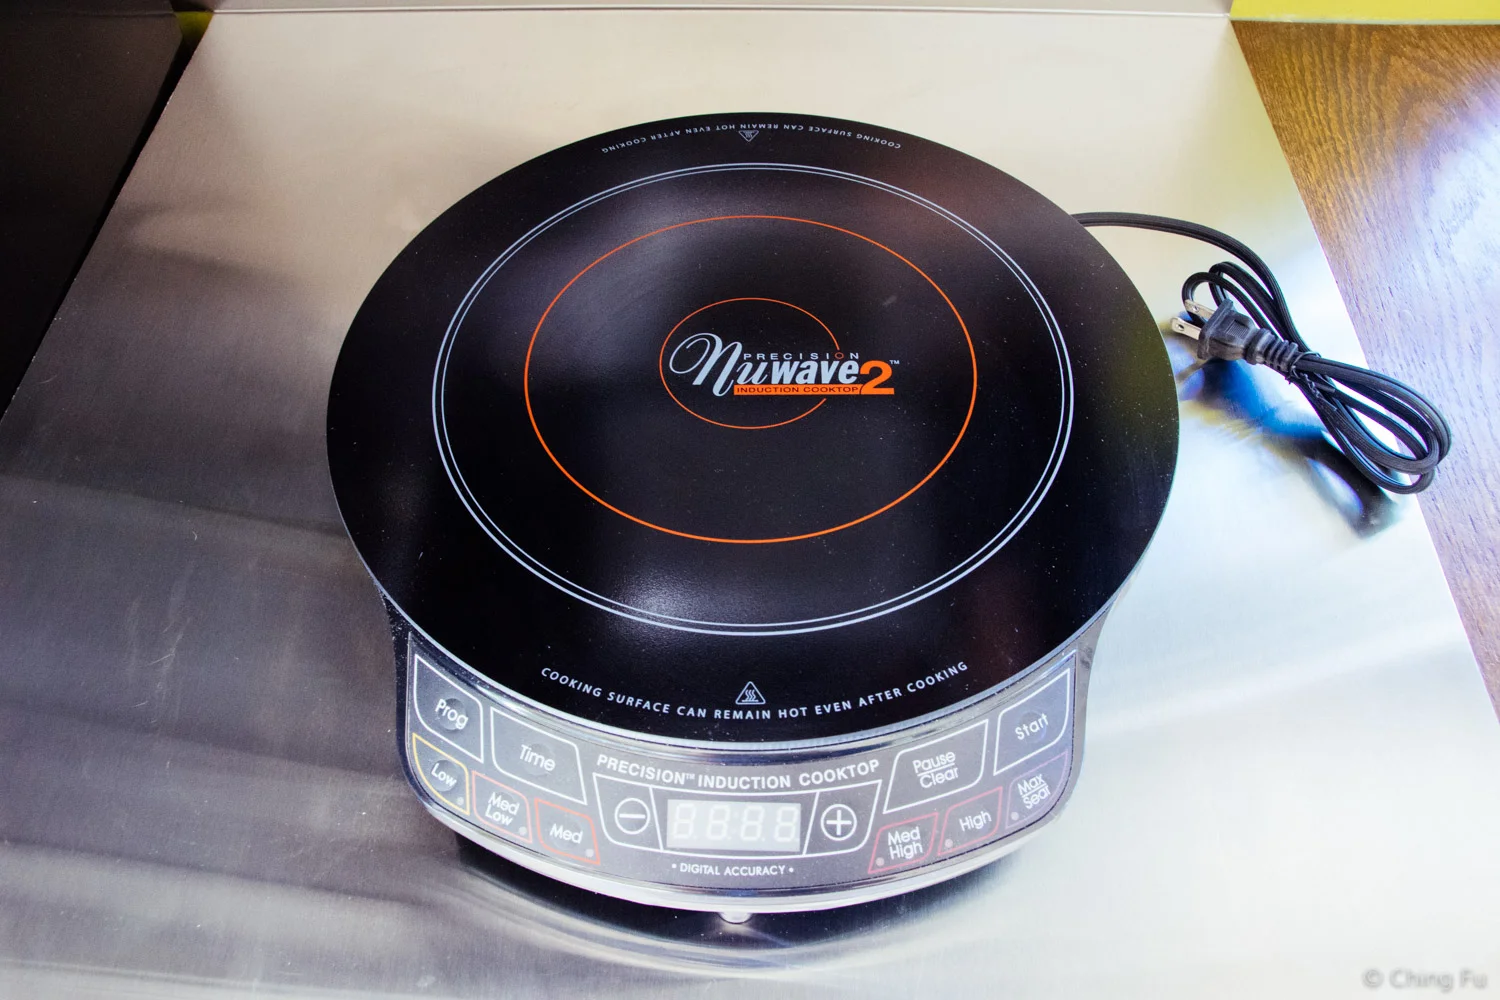
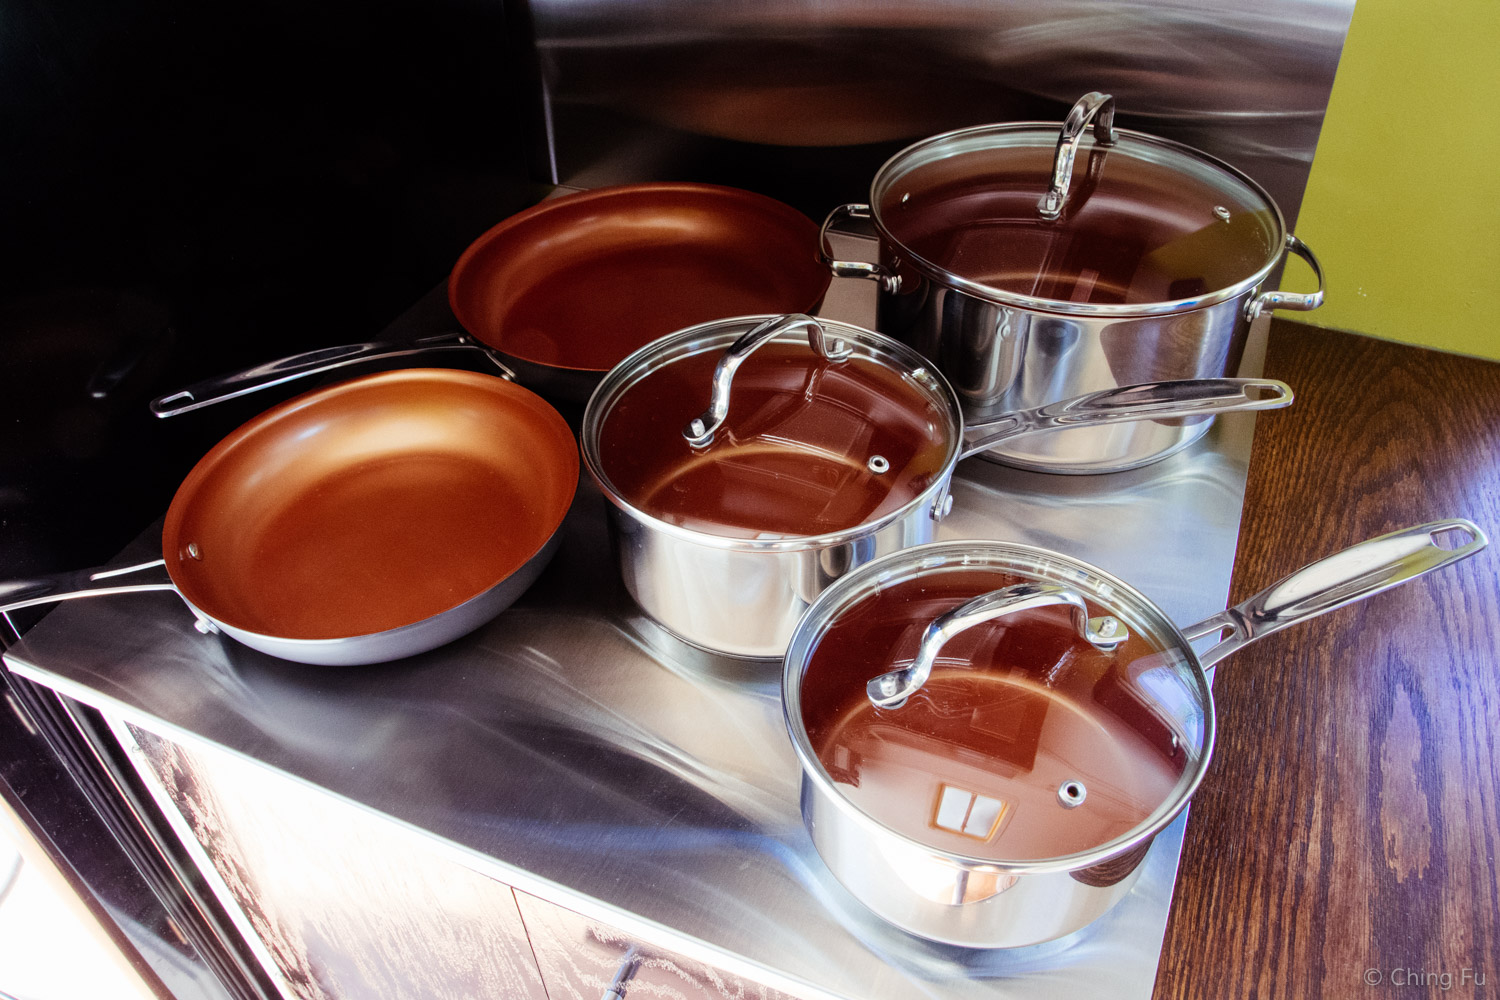
The downside of induction cooktops, and an initial reason we didn’t want one, is that you need pots and pans that contain iron to work – which ours didn’t. Regular cooktops create an open flame or hot surface to heat up the cookware, but induction stoves heat up the cookware directly. They use electromagnetism to heat up the cookware and the iron in the pots and pans is what responds to the magnetic field and gets hotter. The cookware we got to replace our stainless steel and aluminum ones were NuWave brand that came with 3 pots and lids, and one 10.5” pan. (We went to Goodwill and got lids for the two pans for $0.99 each.)
Since we didn’t want to give up baking, we replaced the RV oven with a Black and Decker extra wide toaster oven. We chose this one because it fits a 9x13 cookie sheet, doesn’t have digital controls (which draws current all the time), and fits in the same space where the RV oven was.

A toaster in the Toaster!
We lucked out and were able to sell our RV stove/oven, pots and pans to cover almost the entire cost of everything we had to buy above.
This has all worked out really well and our new kitchen looks great! We are so excited to be 100% propane free! Our goal has been to show that it is possible to live in a sustainable, fully electric RV and now we’ve accomplished that!

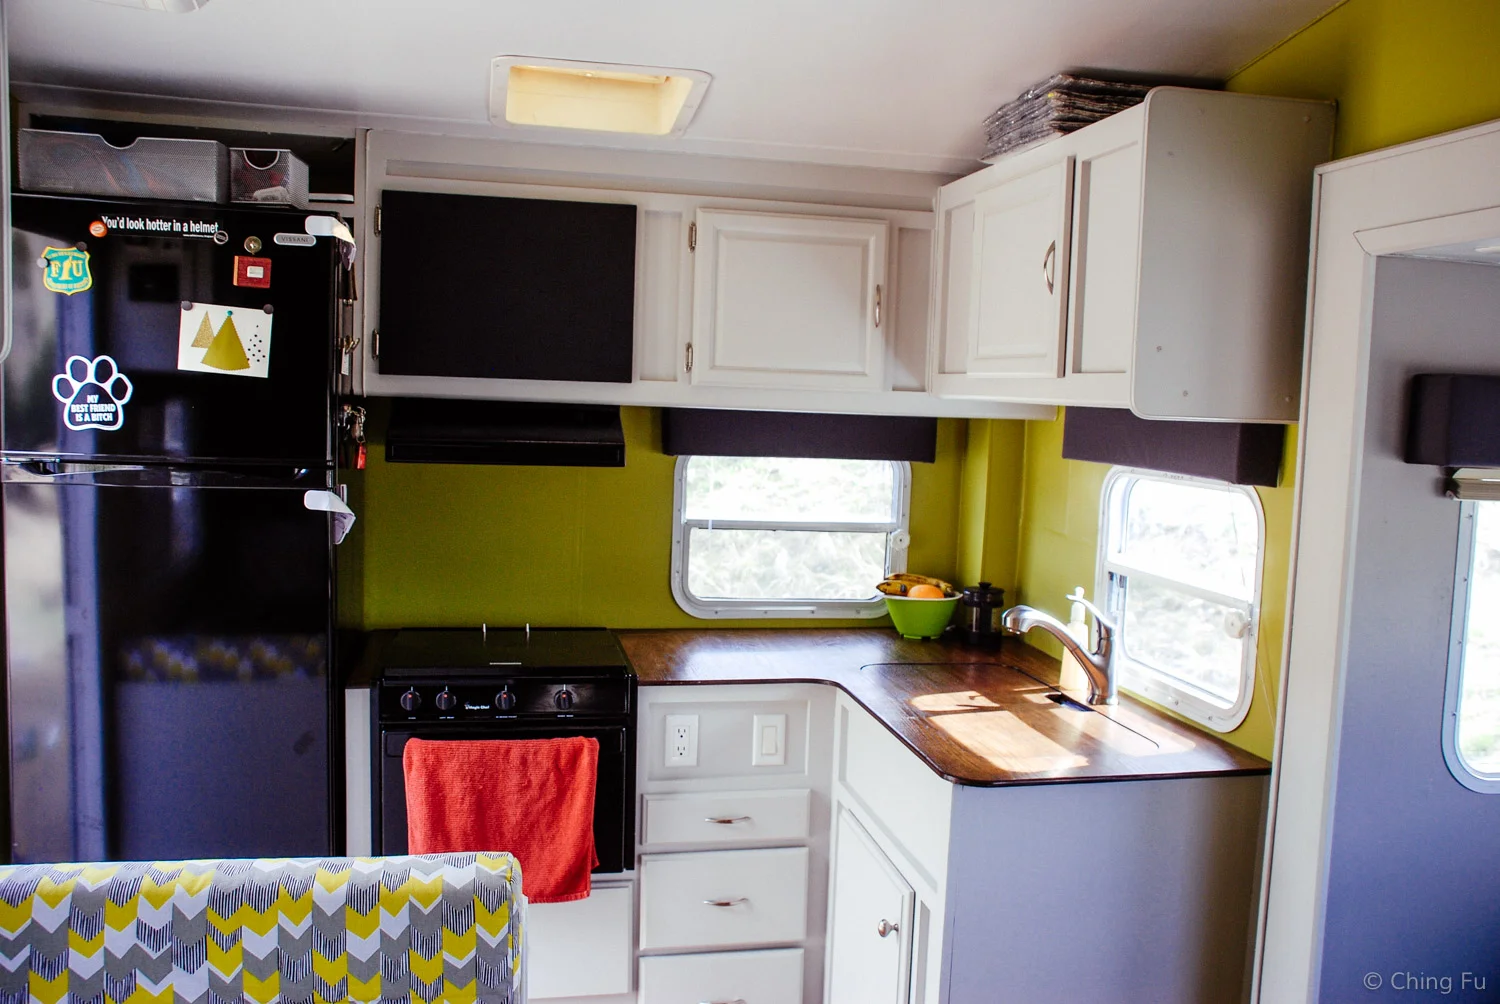
Our newly modified kitchen!