
Bedroom: Walls, Windows And The Roof
One of the great things about having a new dog in the family is watching him figure stuff out. We recently got Tyki a new bed. He refused to get in it for about a week until I finally pulled it out into the living room and coaxed him in it. Then he realized he LOVES the thing!
He spent some time figuring out how he likes to lay in it. He sat in it on his butt and leaned back. Kept leaning lean back. And back...until the bed was standing on it's back edge and his back was almost touching the floor.
What a goofball!
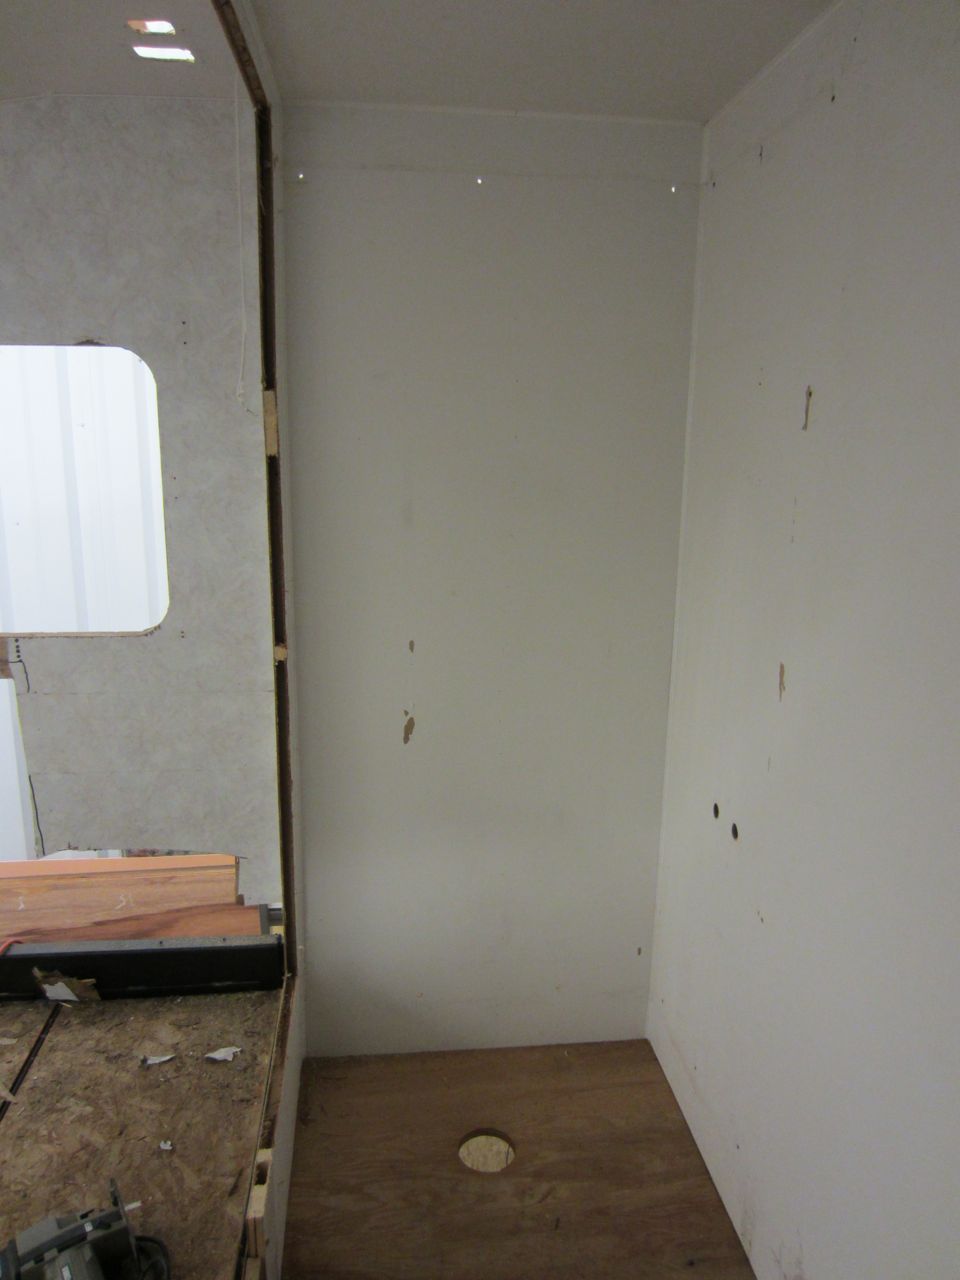
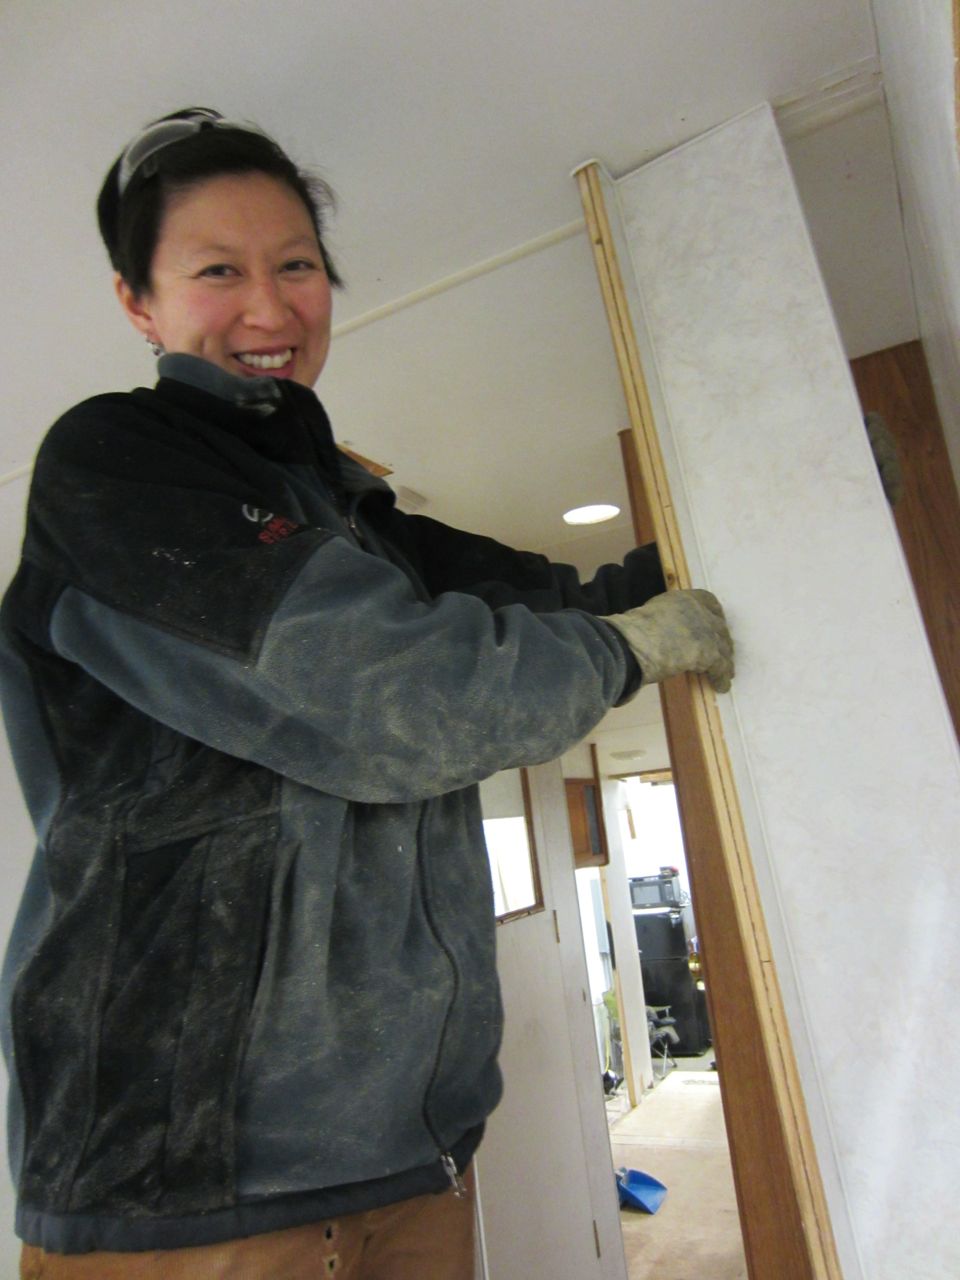
Back to RV work: A couple of weeks ago we tore out two partial walls that were installed in the bedroom to separate the bedroom from the shower and the bathroom sink.

Before: See the two wall the arrows are pointing at? The walls "separated" the bedroom from the shower (on the left) and bathroom sink (on the right).

After: We removed them.
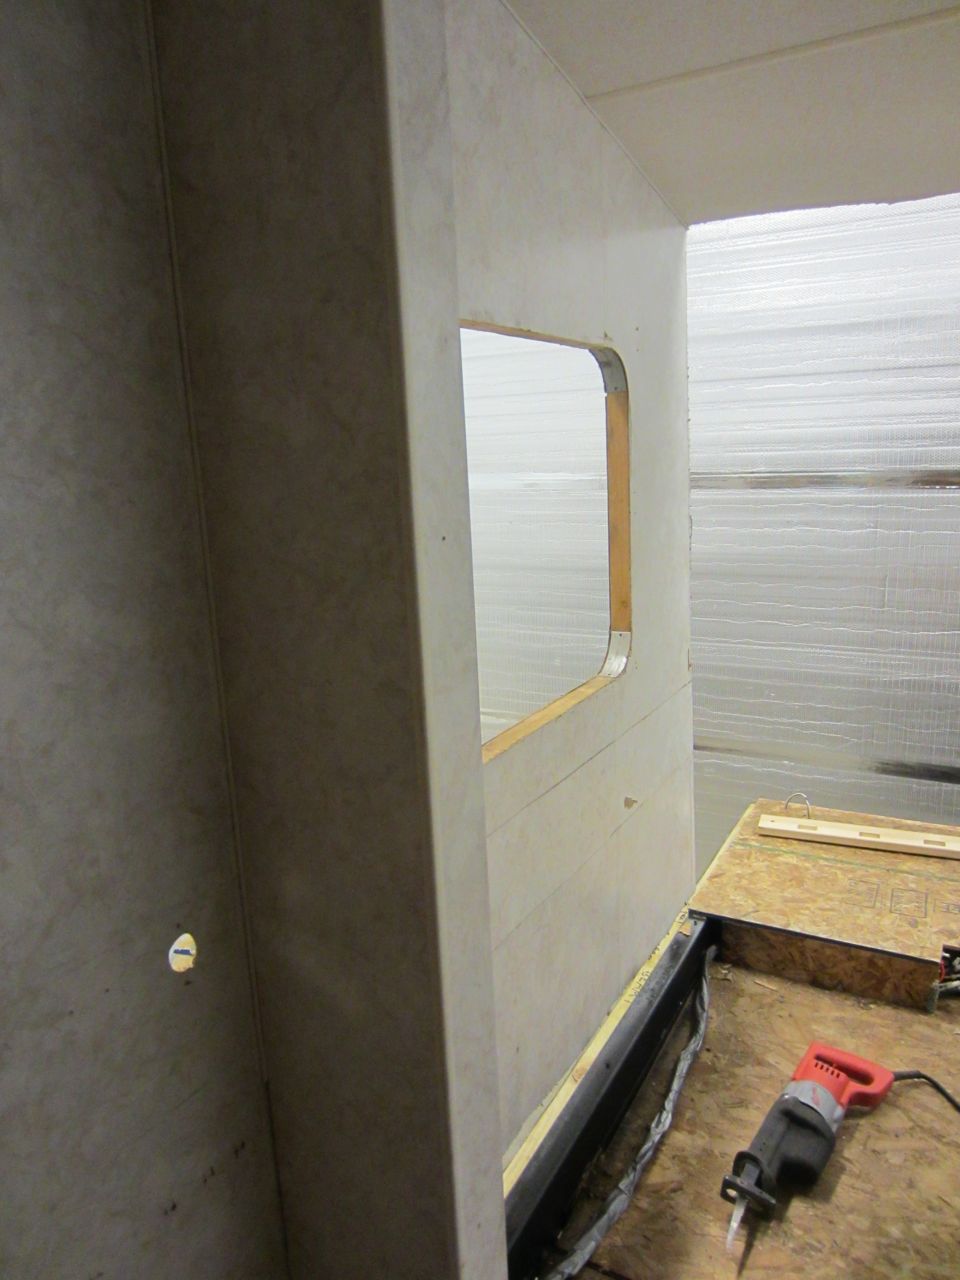
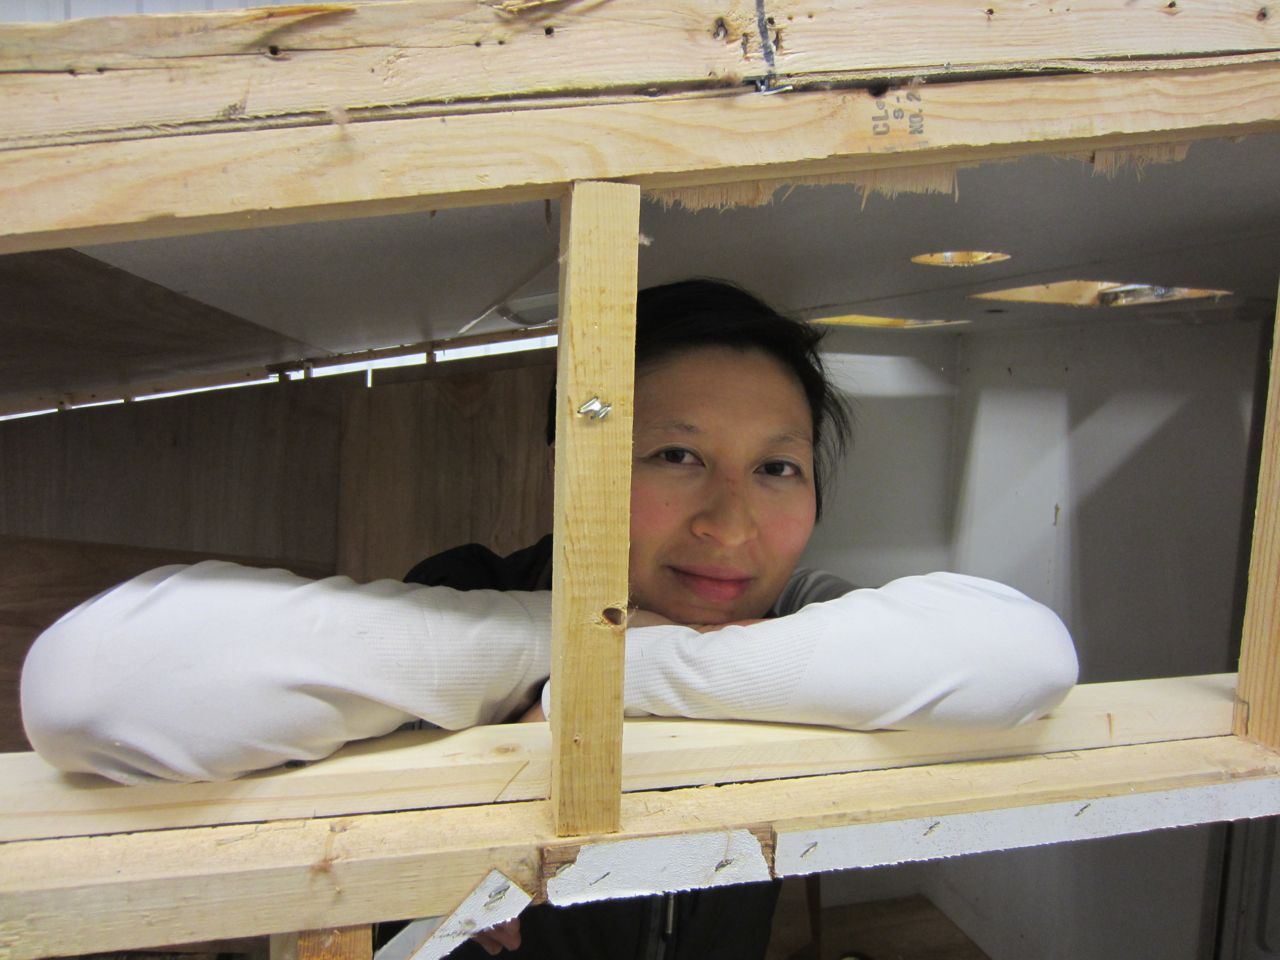
We added narrowed studs in place of the divided walls we removed. These studs are mainly to hold insulation in.
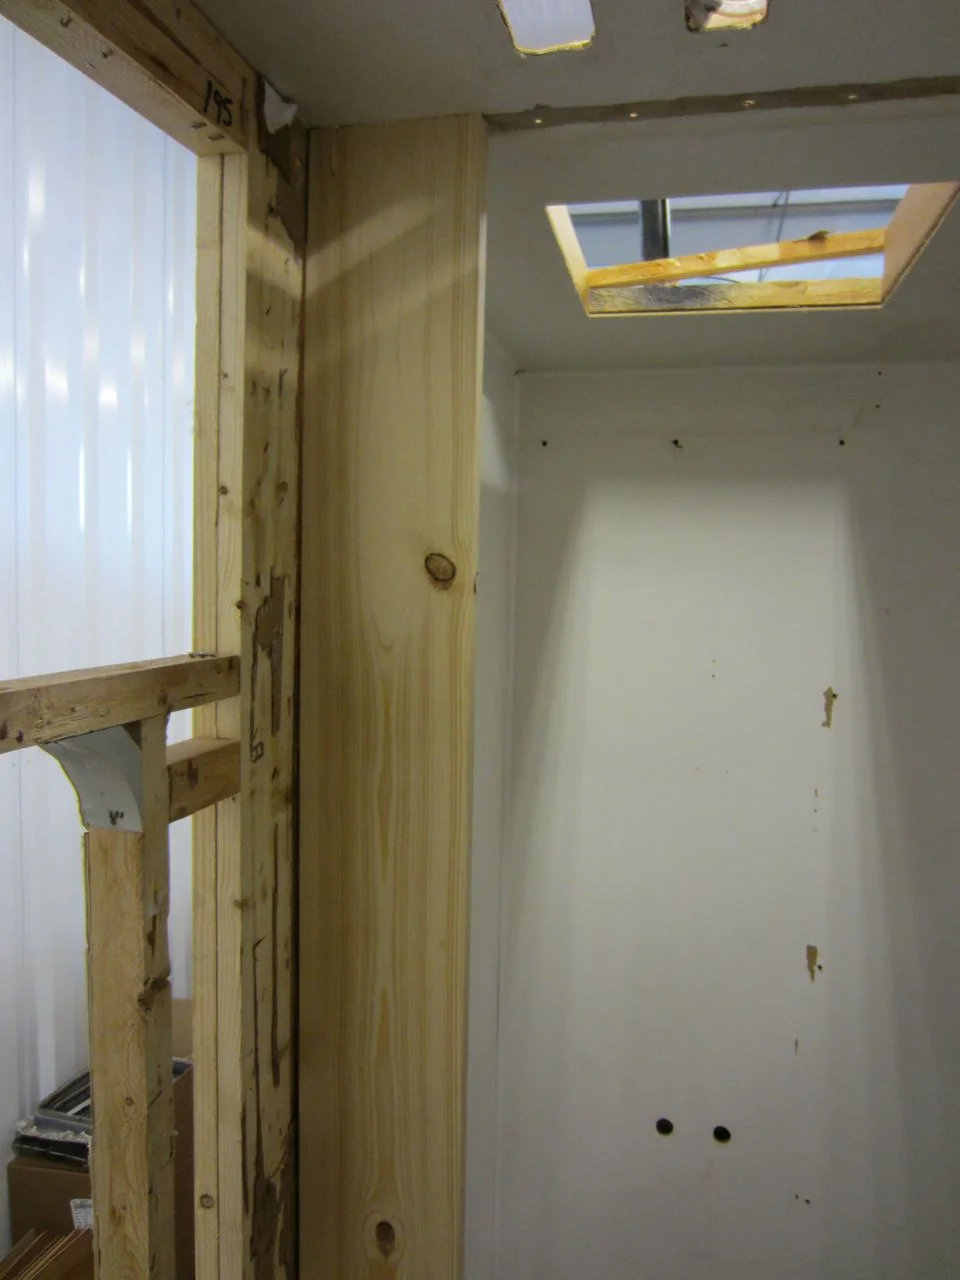
New stud in front of where the shower will be.

New stud in front of where the bathroom sink will be.
We also cut a vent hole in the ceiling above the shower. Since the bedroom walls will eventually have a vapor barrier installed and the space overall tightly sealed, we wanted to make sure there was a vent to suck out all the moisture from showering.

No hole in the shower ceiling.

New hole above the shower for the vent.
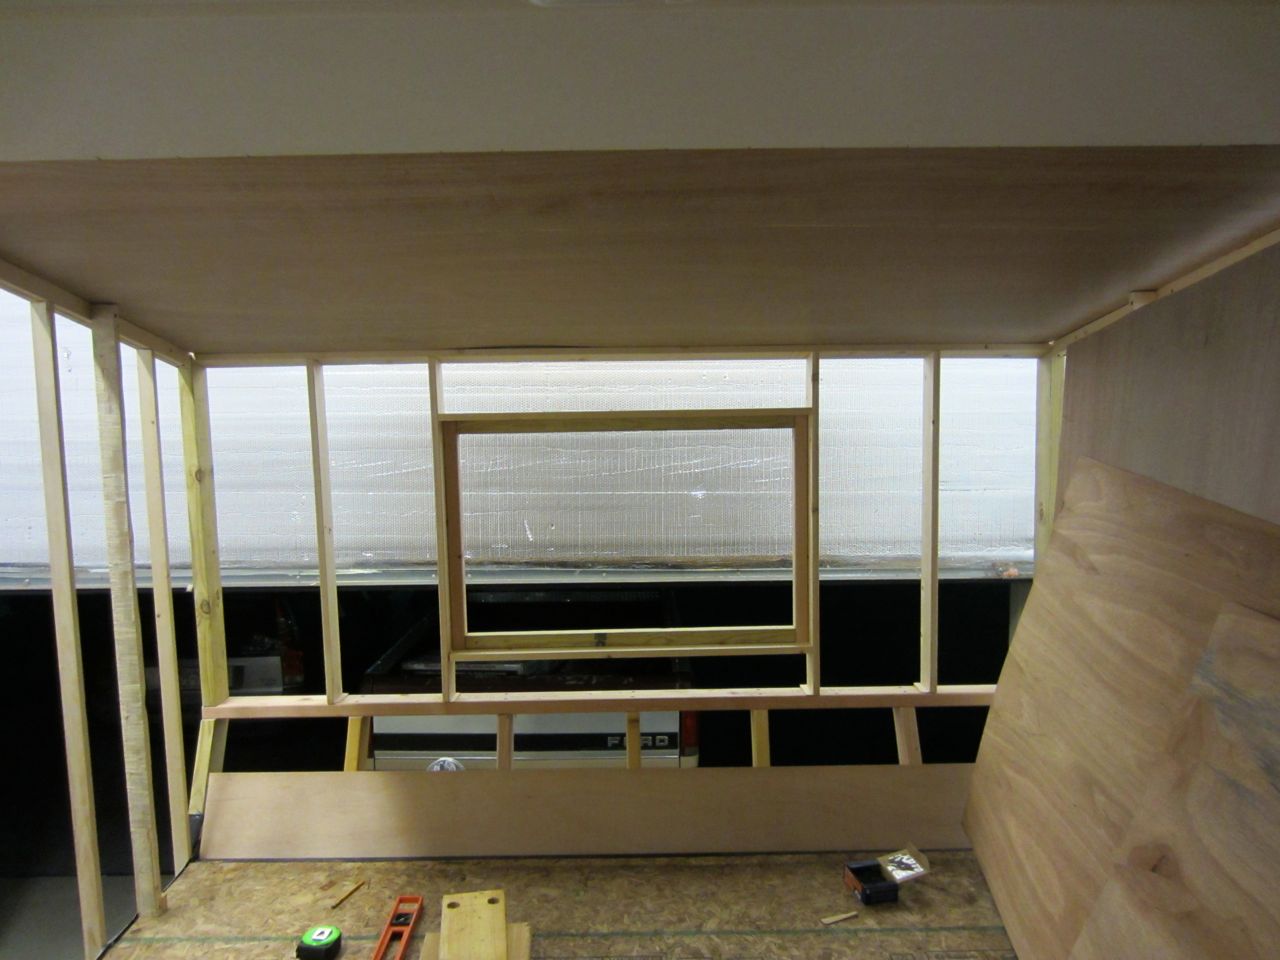
Our plan is that the bedroom will be our safe place once we're on the road. What this means is that if the weather gets too hot or too cold the bedroom is where we'll escape to. The RV can potentially get really hot in the summer (depending on where we are) and the A/C window unit will only be installed in the bedroom. In the winter, the RV may get really, really cold. We'll have a small portable ceramic heater that we'll move around the RV with us to keep us warm. But we need to make sure we can keep the bedroom warm overnight in the winter and cool in the summer. To make this happen as efficiently as possible, we decided that meant we'd have to extra insulate the bedroom. Instead of having one layer of 1.5 inch thick insulation of the mineral wool like the rest of the RV, the bedroom will have a layer of 1.5 inch thick insulation and a layer of 2 inch thick insulation. On top of that, we need a good insulating door that separates the bedroom from the rest of the RV (living room and kitchen).
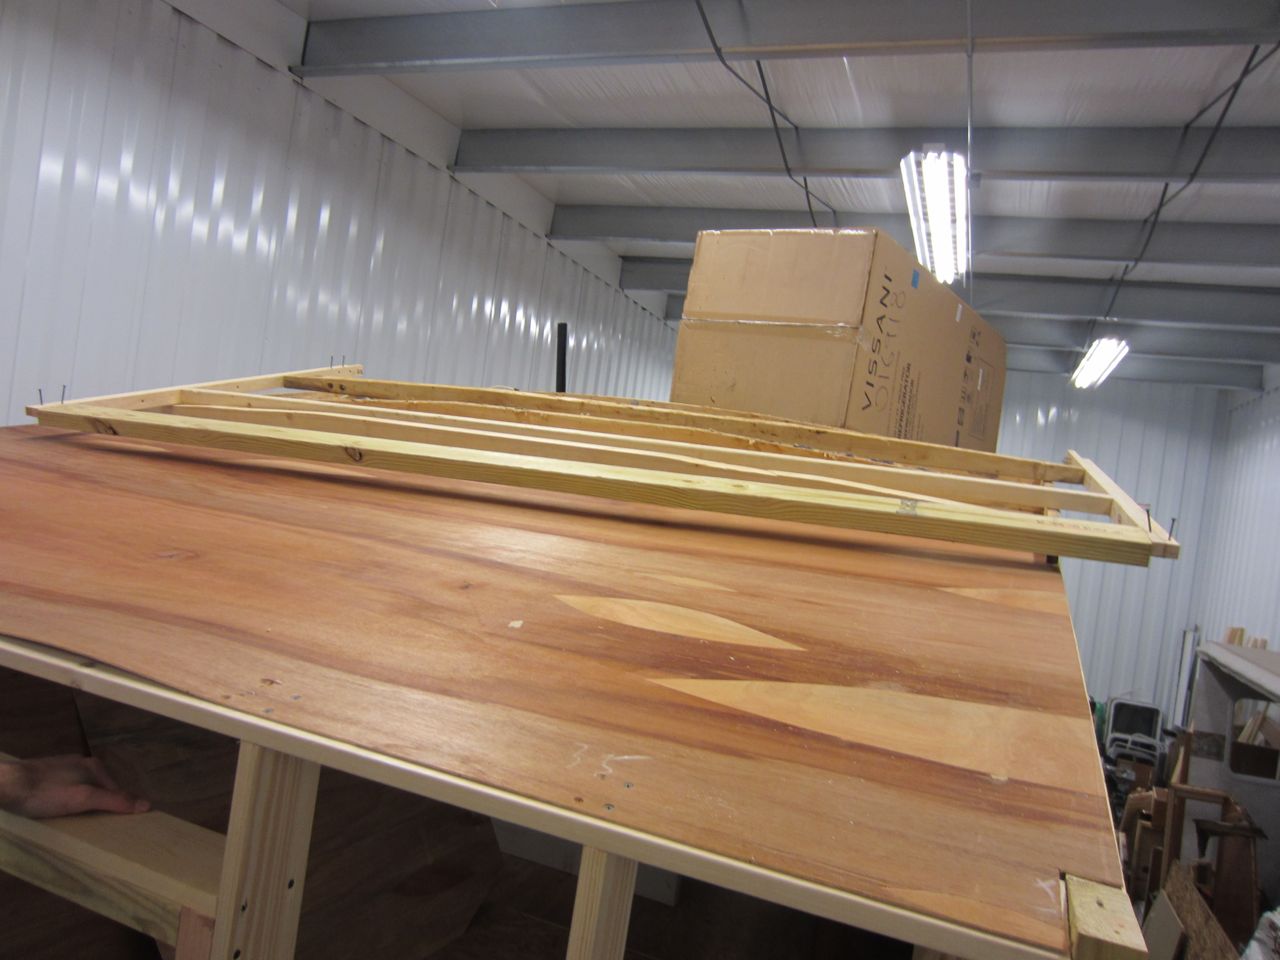
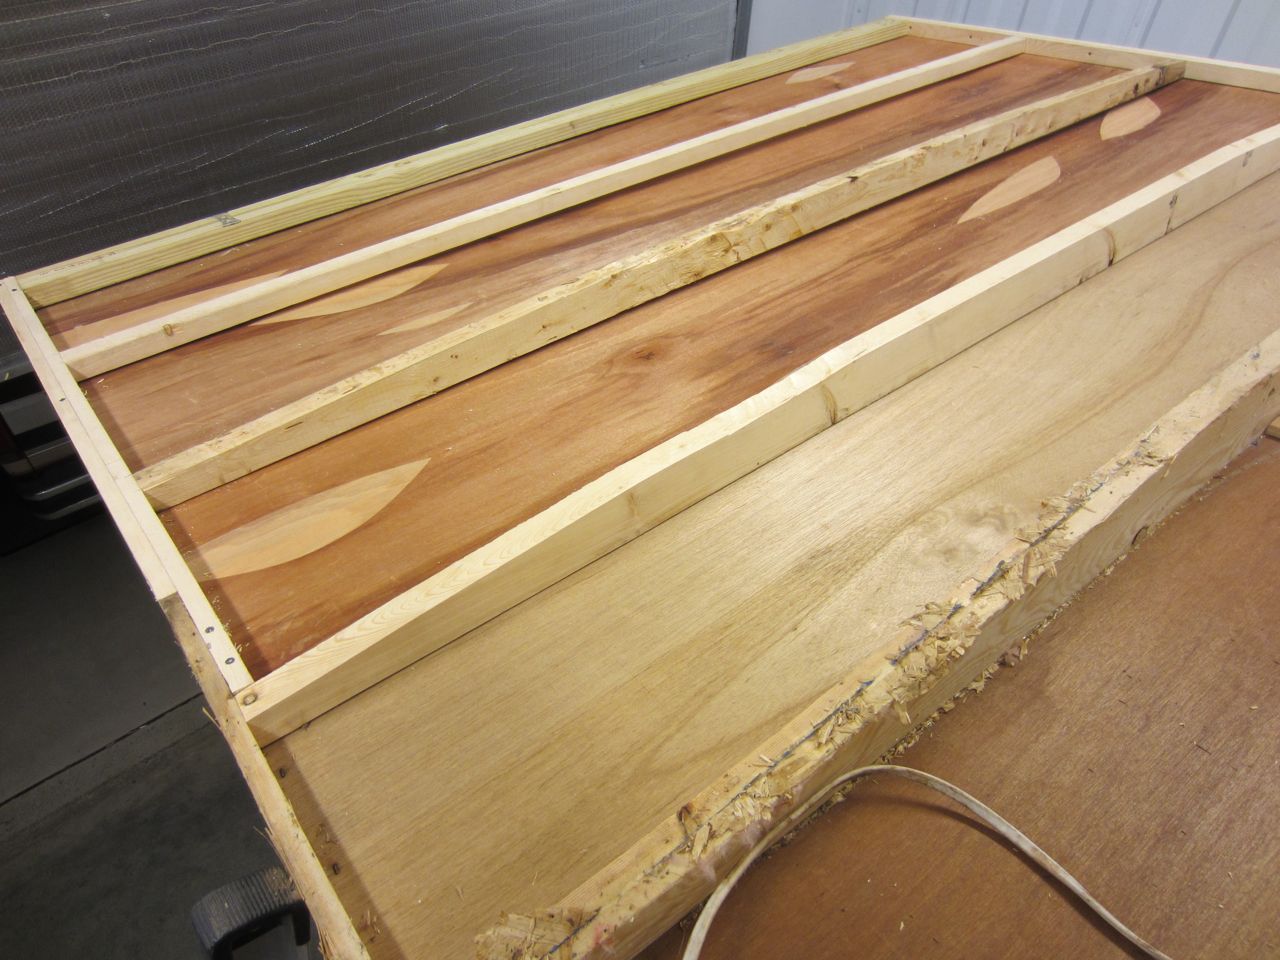
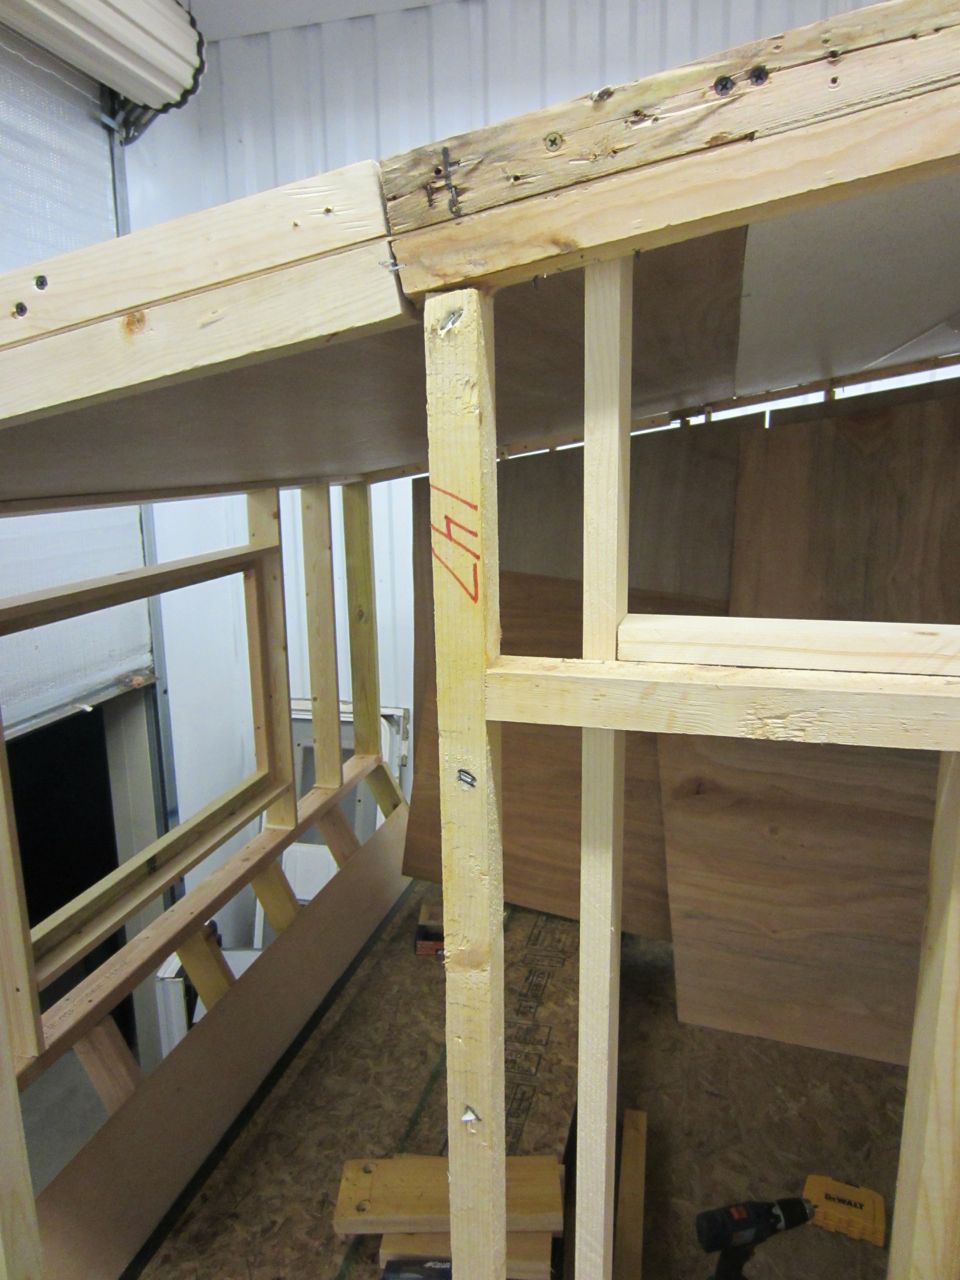
The RV walls are built out of 1" x 2" which means only insulation that is 1.5 inches thick will fit in that space. In order to be able to add the second layer of 2 inch thick insulation we've extended the depth of the bedroom walls from the inside by 2 inches.

Side view of the additional side wall framing so we can add 2 inch insulation to the bedroom.

Straight on view.
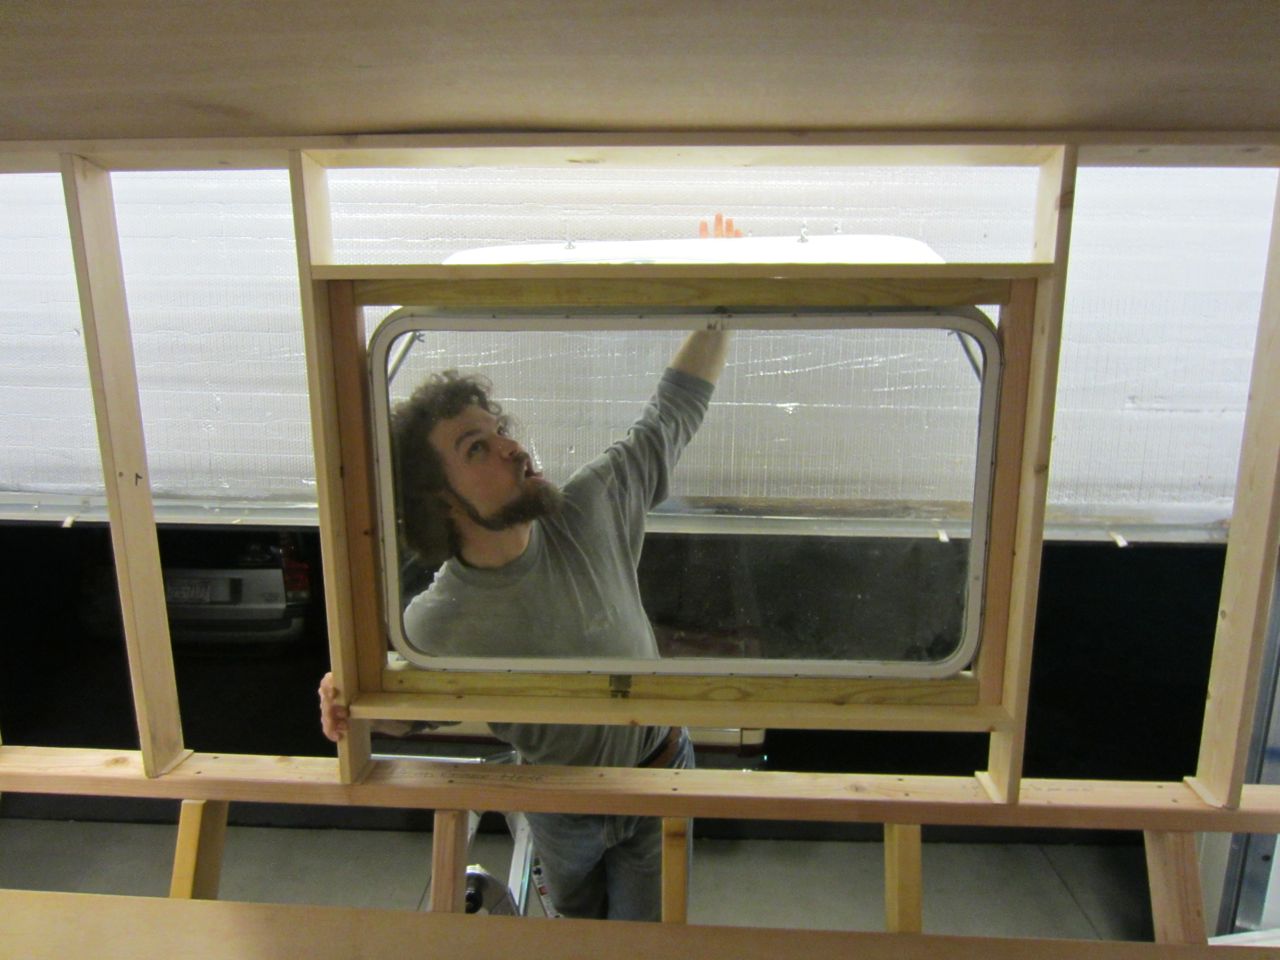
Awhile back, after we tore the bedroom down Jerud and I discussed how we wanted the new bedroom to look. Since we're starting from scratch we could add in almost anything we wanted. One addition we decided to make was to add a window above the bed. Here is what the original bedroom looked like.
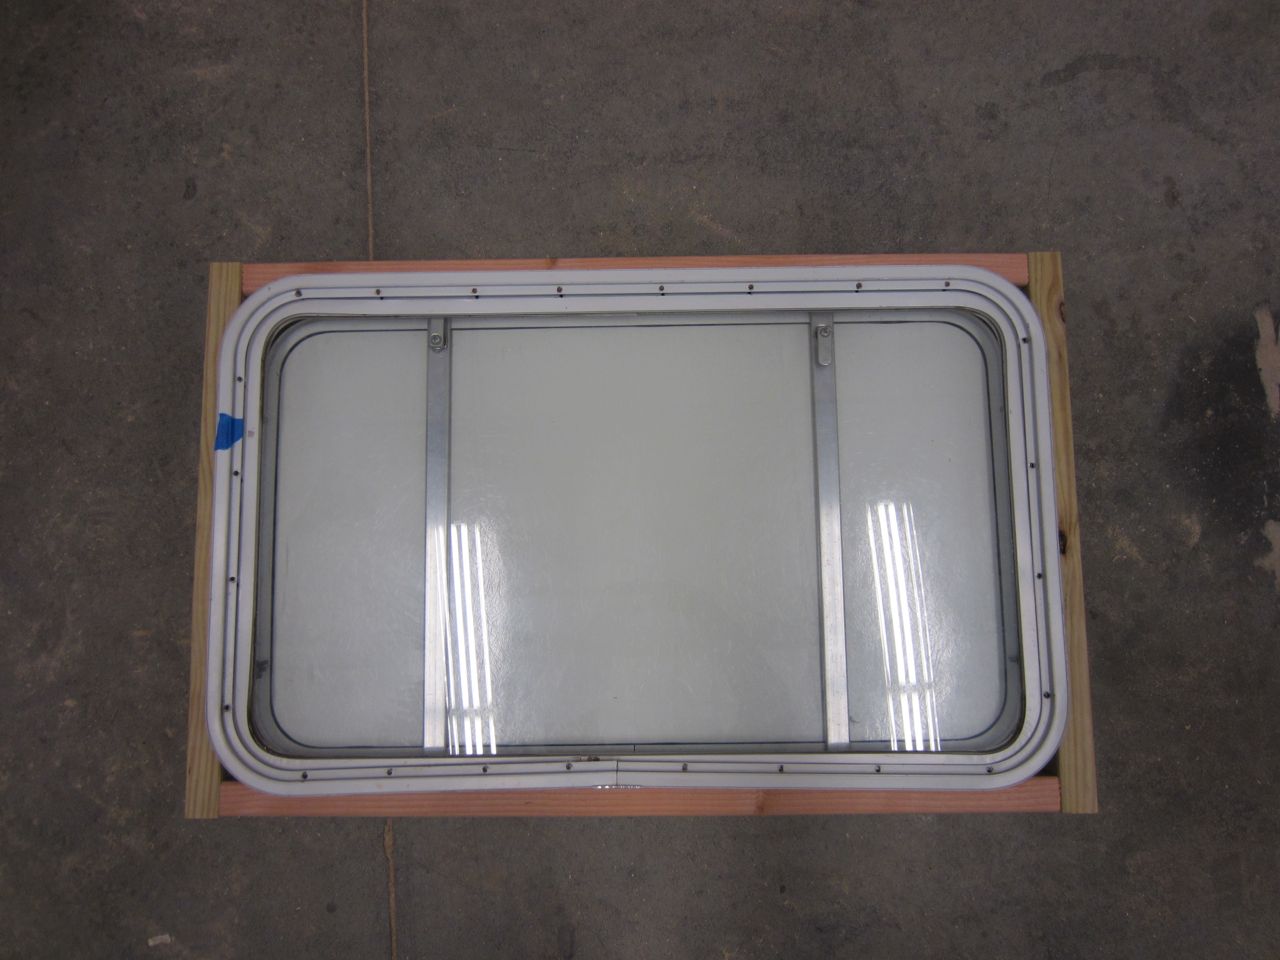
Buying a brand new RV window would be really expensive, instead we looked for a used window. Our window specs are: 18" height, 30 - 48" width, 1 7/8" thick, double pane, stationary/fixed, radius window and comes with a rock guard. (The window needed to have a rock guard on it because it would be located in the very front of the RV.) Ideally we wanted to find one locally so we wouldn't have to pay for shipping, but we don't have any RV salvage yards in the area and the places I did call didn't have what I was looking for. So I went online and searched for RV salvage yards and used parts company. I called a lot of places and either they didn't pick up, had a disconnected number, or didn't have what I was looking for. I got a couple of hits, one of the places I called, RV Glasparts out in OR and found a used window but it was going to cost us $273 for a single pane and $368 for a dual pane for an 18" x 30" window - not including shipping! YIKES! But Doug at RV Glasparts was very helpful, easy to get a hold of and was willing to exchange emails with me (which makes things easier).
We ended up buying the perfect window from Michael at RV Doctor George out in CA. Michael was awesome! I spoke to him over the phone, told him what I was looking for, and then he went and found two potential windows, took 11 photos some with the measuring tape in them to show me size and photos showing all angles of the windows and rock guard, and then emailed me the photos! I was impressed with the customer service. One of the windows Michael found was too large (23" x 49") but the other window (and the one he also said was better) was 23" x 37" and the size we wanted...and it has a rock guard!
The price was $4 an inch for radius windows. So the window we wanted was $150. The kick in the stomach was the shipping price - $91.66! It's a large item and it's coming from across the country. We bit the bullet and bought the window (total cost $241.66).
It window arrived in about 9 days. It came with a thank you note, roll of complimentary putty tape, a notepad, and a hot pink fly swatter.

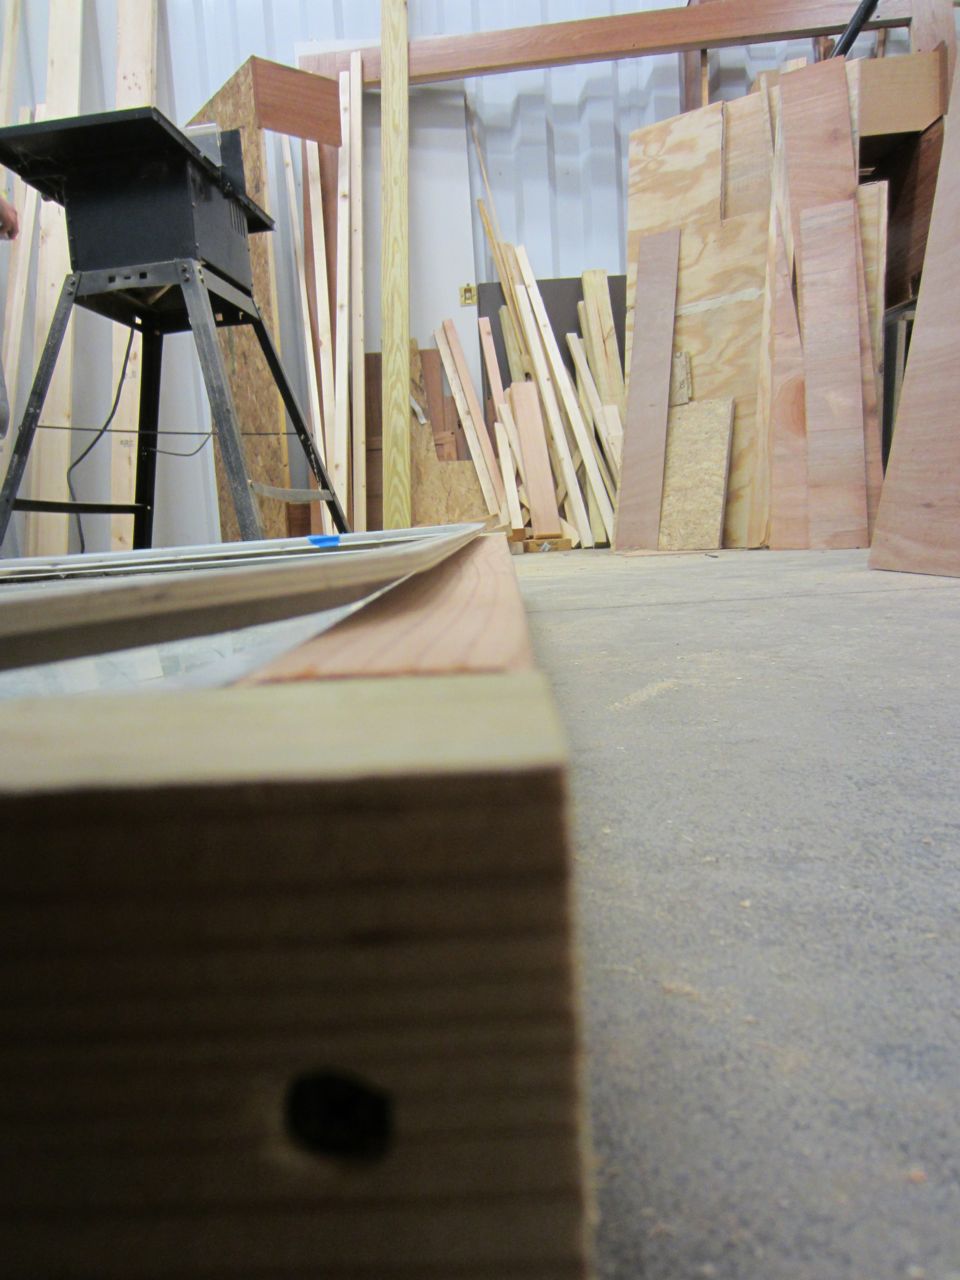
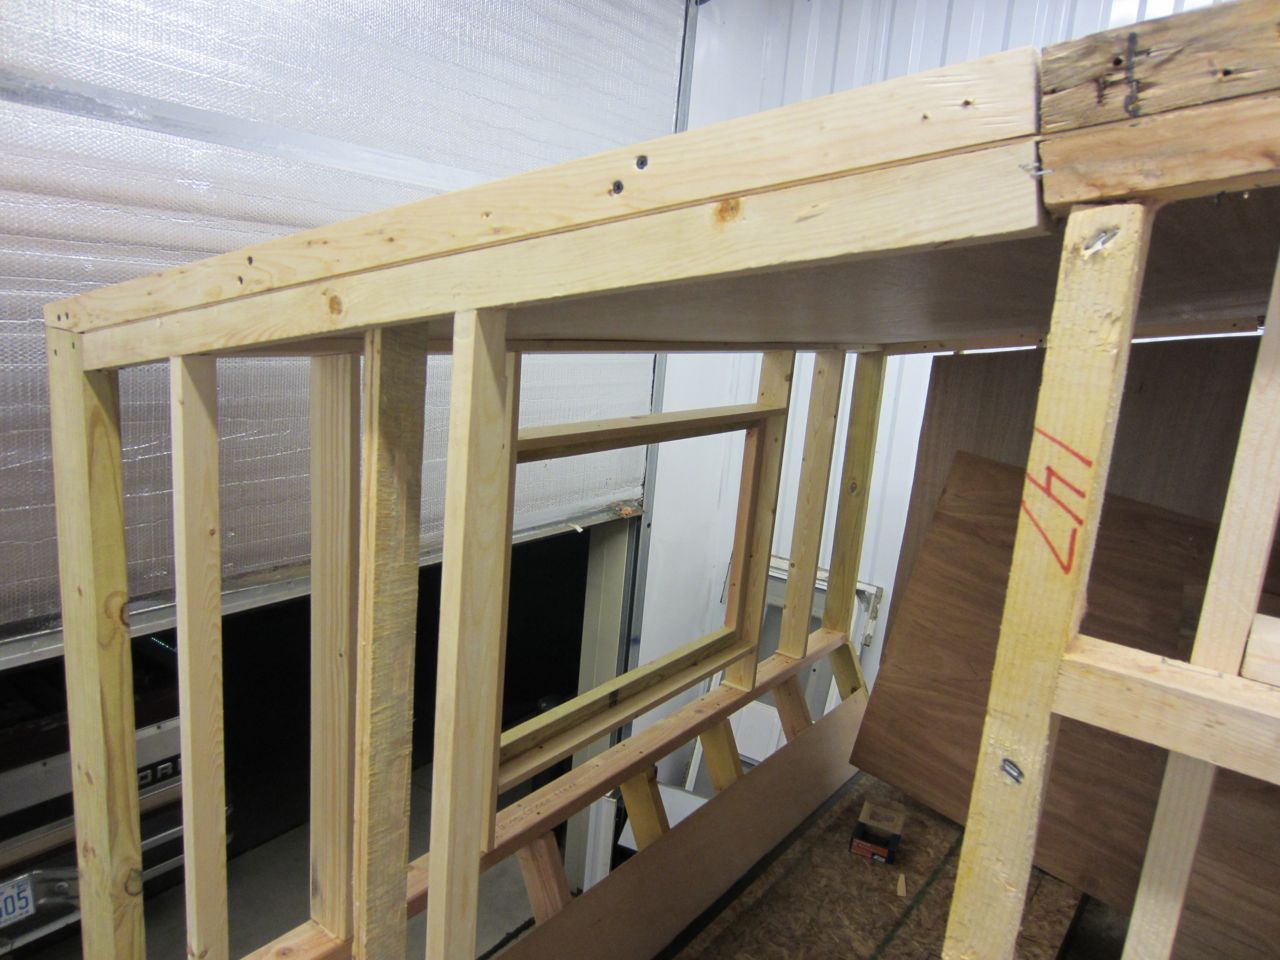
Where the window will eventually live.
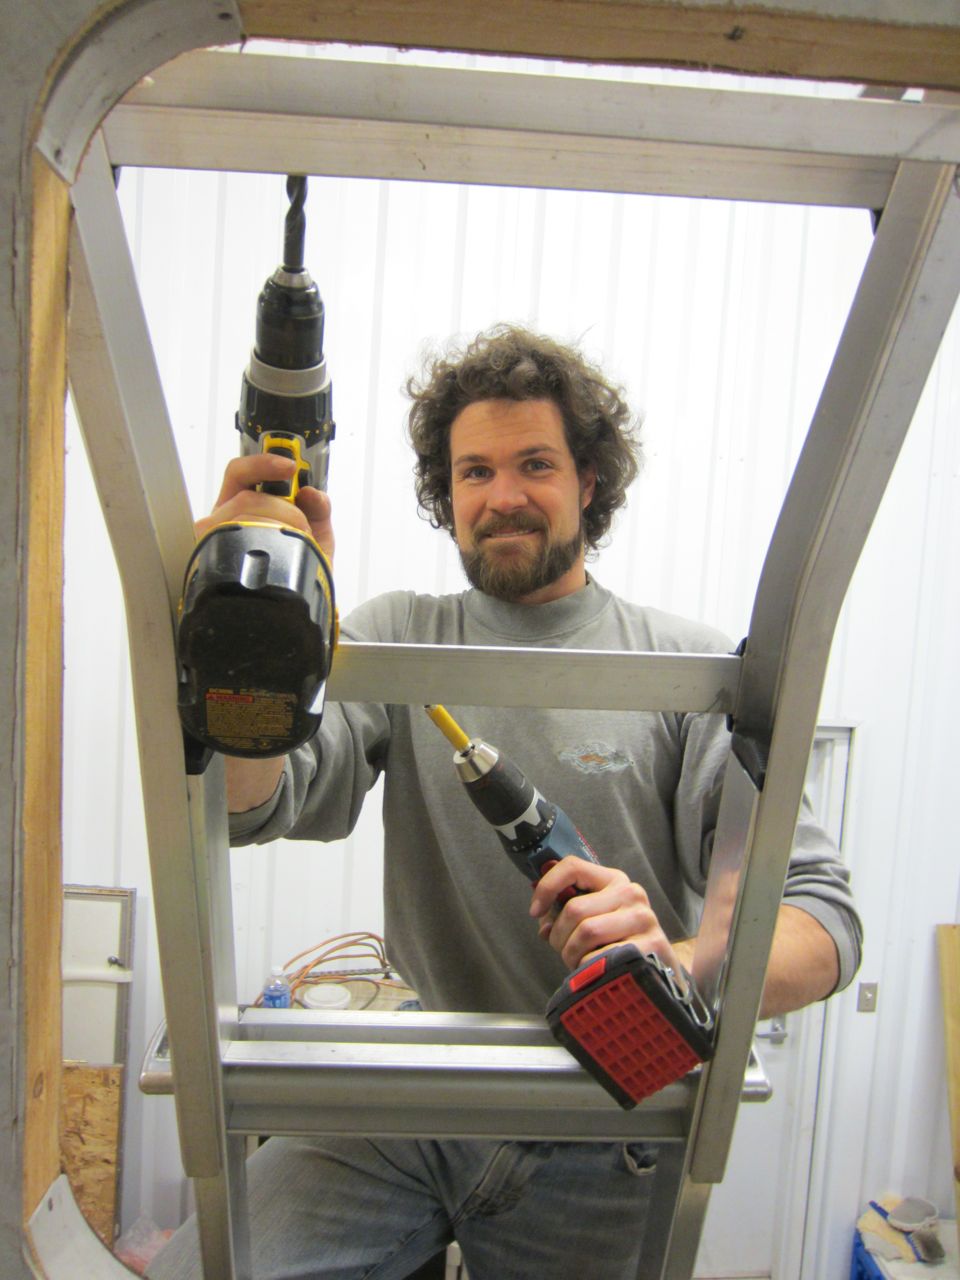
It took us a couple of tries, but we eventually got the window frame built (we were having a hard time for some reason, most likely due to lack of sleep).
With the window done, we finished up the roof to call it a night/week/stage and moved onto securing a section of the rafters.
Here is a list of RV salvage yards for your RV used parts needs:
- Colaw RV Salvage
- Five Star RV Salvage
- Bob's Used RV Parts / Tel: 386-454-5733 / bobsrvparts@gmail.com
- Arizona Salvage, Inc.
- Visione RV
- Conibear RV Center / Tel: 800-981-2787 / conibear@atlantic.net
- RV Surplus
- RV Salvage Resources