
Taping Wall Seams
The walls are all up in the bedroom! This is a big deal to us because it's something so visibly different that's happened to the trailer. Construction instead of deconstruction! Of course there are downsides to construction - the bedroom is a lot darker than before and we can't just walk through the walls to get in and out of the trailer! Before the front bedroom wall and studs were up, Jerud and I kept talking about how sweet it'd be if the front was just one big window that could be opened. Maybe in our next home.
Taping the seams was the next step. This is done so the wall seams aren't visible once they are painted. At least it's what we read we're supposed to do.
Tools that we used to tape wall seams:
- Scissors: to cut the seam tape
- Painters tape: to hold up long pieces of seam tape up against the wall
- Little roller: to roll over the seam tape after it's been heated
- Heat gun: the glue on the backside of the seam tape is activated by heat
- Iron: this is optional if the heat gun doesn't activate the glue on the backside of the tape
These two pictures are not of the same wall, but it shows what the wall seam looked like before the tape was adhered to the wall.
The bedroom walls have several seams that had to be taped. Since we had to install floor to ceiling length walls, there are seams at the ceiling and floor that needed to be taped. We couldn't cut the pieces of luan to be flush with the ceiling. This created a larger gap than we wanted up at the ceiling. We had to cover the gap with joint compound (photo on the right) before putting the tape on.
The seam tape on the left photo was taped to the wall with painter's tape because it was such a long piece. I needed help to get it to stay up while I used the heat gun to tape it to the wall. The photo below shows the ceiling seam taped.
We covered the ceiling seam by the front bedroom window with 3/4" round molding instead of the seam tape because it looked a lot better. We also realized that the brads we used to install the new ceiling luan pops out (like in photo below) if we stand on the beams on the roof that the brads are nailed into. So we re-nailed them into the ceiling and have to remember not to walk on those beams.
We had to find a clean way to attach the luan to the beams around the window instead of using staples, which doesn't leave a clean look. So we ended up using liquid nails to glue the luan to the window beams, then used a piece of wood to clamp it to the window to hold the luan tightly while the glue dried.
The distribution box (the distribution box has main power supply coming for the DC and AC, in RVs opposed to houses, and then it divides that power out to multiple circuits) used to be located under the fridge. But that wasn't a good location for us so we moved it from under the fridge into the bathroom. Two holes were cut out of the walls - one in the bathroom and the other on the opposite side of the wall where the shower surround will be. We had to cut a hole in the wall behind the shower so we could add framing to support the weight of the distribution box. Left photo: Jerud was installing the framing from the shower side; middle photo: hole in the shower wall and the back of the distribution box; and right photo: view of the face of the distribution box from inside the bathroom.
Jerud spent several weeks figuring out what all the original wires do, where they lead to and then diagraming where they need to go. Once that was done, the wires were all laid out going to their specific locations on the roof.
Lo and behold, we have electricity after Jerud completed all the wiring! Exciting and a big relief.
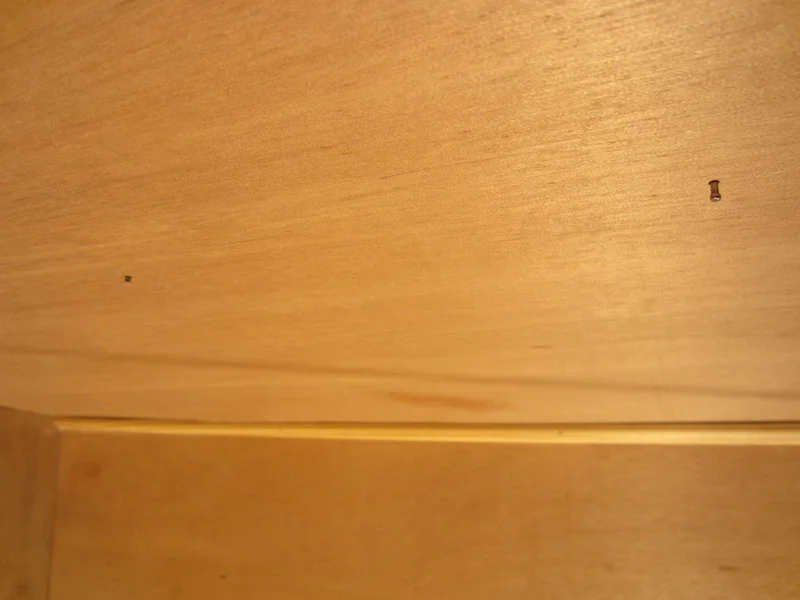
We eventually realized using staples to hold the luan in place wasn't a good idea. The staples weren't strong enough and it was too noticeable. We pulled out all the staples and replaced them with brads. Then we used joint compound to cover the staple holes and the brads (which didn't always work out great).
It seemed like just using the heat gun on the seam tape wasn't working great so we tried the iron. While the seam tape is a great idea theoretically, in reality it didn't work that well. We (mainly me) are worried that the seam tape will come off the walls at a later point because it didn't seem to be sticking on the walls very well now. As of 2.18.18, all the seam tapes are still on the walls. (I hope I didn't just jinx it.) But there are two small sections of tape in the bedroom that have puckered slightly. The puckering hasn't gotten any larger over time.
We installed a 2" x 6" piece of wood between where the shower surround is going to and the bedroom. (It's the lighter colored vertical piece of wood between the window hole and insulation). This piece of wood replaces the original divider wall we removed. We installed the 2" x 6" because we decided it'd help keep the shower curtain in place better and prevent water from the shower from spraying past the shower curtain.